- 首页
- » 搜索
- » joeydeng 发表的帖子
页次: 1
#1 Re: 全志 SOC » F1C100S 卡在 Starting kernel ... » 2024-09-02 18:39:06
btw 3m并不是绝对的判断方法,我是通过判断vmlinux的大小
root@:/linux-nand# ls -lh vmlinux
-rwxr-xr-x 1 root root 11M Sep 2 10:10 vmlinux
root@:/linux-nand#linux-nand# ll -h arch/arm/boot/zImage
-rwxr-xr-x 1 root root 2.9M Sep 2 10:10 arch/arm/boot/zImage*
root@:/linux-nand#linux-nand#
vmlinux是解压后的kernel大小,如果这个基本占满了整个内存大小,那么就会启动不起来
#2 Re: 全志 SOC » F1C100S 卡在 Starting kernel ... » 2024-09-02 18:34:18
我也遇到了相同的问题,具体情况和inia一样,
开始怀疑是nand flash的问题,所以换了很多个nand flash,但是换了还是不能解决问题,
后边偶然将f1c100s换成了f1c200s就没有这个问题,
所以怀疑解压kernel的时候内存占用过多,
猜测最后导致解压出顺坏了的vmlinux,我测试下来最大kernel的临界点在3m左右,大于了3m大概率就会出现问题
solution:
我通过将一些编译在内核内的东西编译成了ko文件来减小kernel本身的大小,问题轻松解决
后续:如果要根本解决问题,那么尝试改变kernel压缩策略
gzip (vmlinuz)
优点: 平衡了压缩比和解压缩内存的使用。解压缩速度较快,且内存占用相对较小。
缺点: 压缩比相对较低,内核映像较大。
内存使用: 较低。lz4
优点: 解压缩速度非常快,适合在嵌入式系统中使用。占用较少的内存资源。
缺点: 压缩比不如 gzip 或 xz。
内存使用: 低。
猜测改为lz4情况会改善
#3 Re: 全志 SOC » 关于nano pi从u-boot启动到kernal出现1秒的花屏问题的分析及解决方法 » 2024-08-15 10:10:12
在设置mem=30M后 free -m 发现内存的total size也少了2m
感觉这个应该不是最优解 
cat /proc/iomem
01c00000-01c0002f : 1c00000.sram-controller
01c02000-01c02fff : 1c02000.dma-controller
01c05000-01c05fff : 1c05000.spi
01c0c000-01c0cfff : 1c0c000.lcd-controller
01c0f000-01c0ffff : 1c0f000.mmc
01c13000-01c133ff : usb@1c13000
01c13000-01c133ff : musb-hdrc.1.auto
01c13400-01c1340f : 1c13400.phy
01c20000-01c203ff : clock@1c20000
01c20800-01c20bff : 1c20800.pinctrl
01c23400-01c237ff : 1c23400.lradc
01c23c00-01c23fff : 1c23c00.codec
01c25000-01c2501f : serial
01c27000-01c273ff : 1c27000.i2c
01e60000-01e6ffff : 1e60000.display-backend
80000000-81ffffff : System RAM
80008000-807fffff : Kernel code
80900000-8096c34b : Kernel data
#
修改前的,看起来reserve是有的,等再找找问题
#4 Re: 全志 SOC » A33主线Linux跑起OpenGL/ES » 2024-07-20 20:31:02
KevinS wrote:
NND, 终于跑起来了, 4.19.5内核外加补丁
请问是加的哪一个补丁呢?
在我这边手动insmod mali.ko后输出如下,看起来是和楼主一样是正常的,我的kernel版本是mainline 4.19.315
[ 87.506758] Allwinner sunXi mali glue initialized
[ 87.507330] Mali:
[ 87.507336] Found Mali GPU Mali-400 MP r1p1
[ 87.510612] Mali:
[ 87.510623] 2+0 PP cores initialized
[ 87.511784] Mali:
[ 87.511790] Mali device driver loaded
运行qt程序报错0x3003
root@hyiot-shp-a:~# QT_QPA_EGLFS_PHYSICAL_WIDTH=720 QT_QPA_EGLFS_PHYSICAL_HEIGHT=1440 QT_QPA_EGLFS_INTEGRATION=none ./2dpainting
EGL Error : Could not create the egl surface: error = 0x3003
Aborted
#5 Re: 全志 SOC » 全志A33 主线u-boot/Linux入坑记录 » 2024-05-24 11:11:15
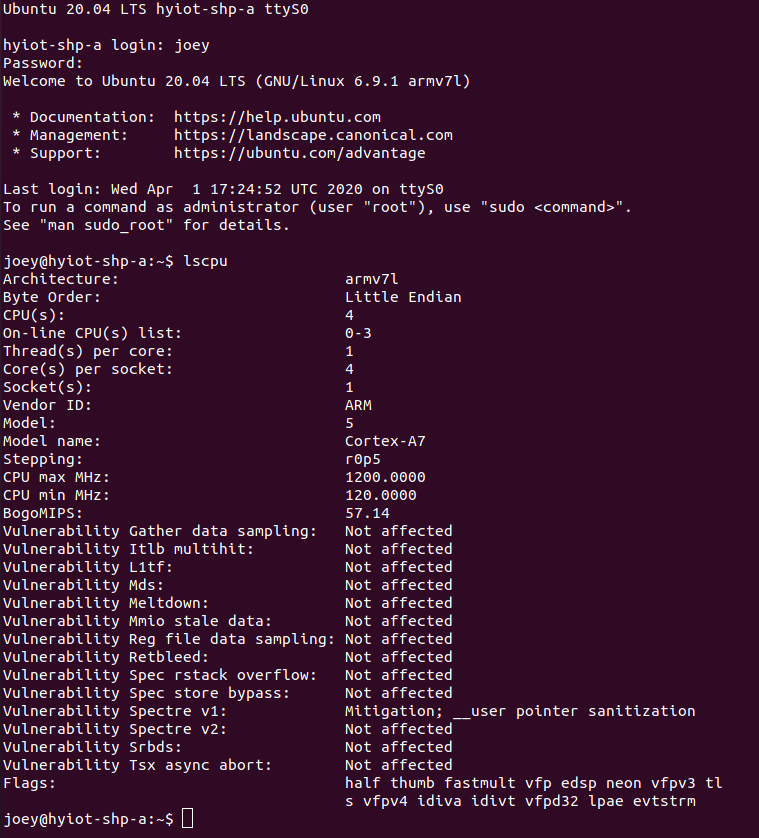
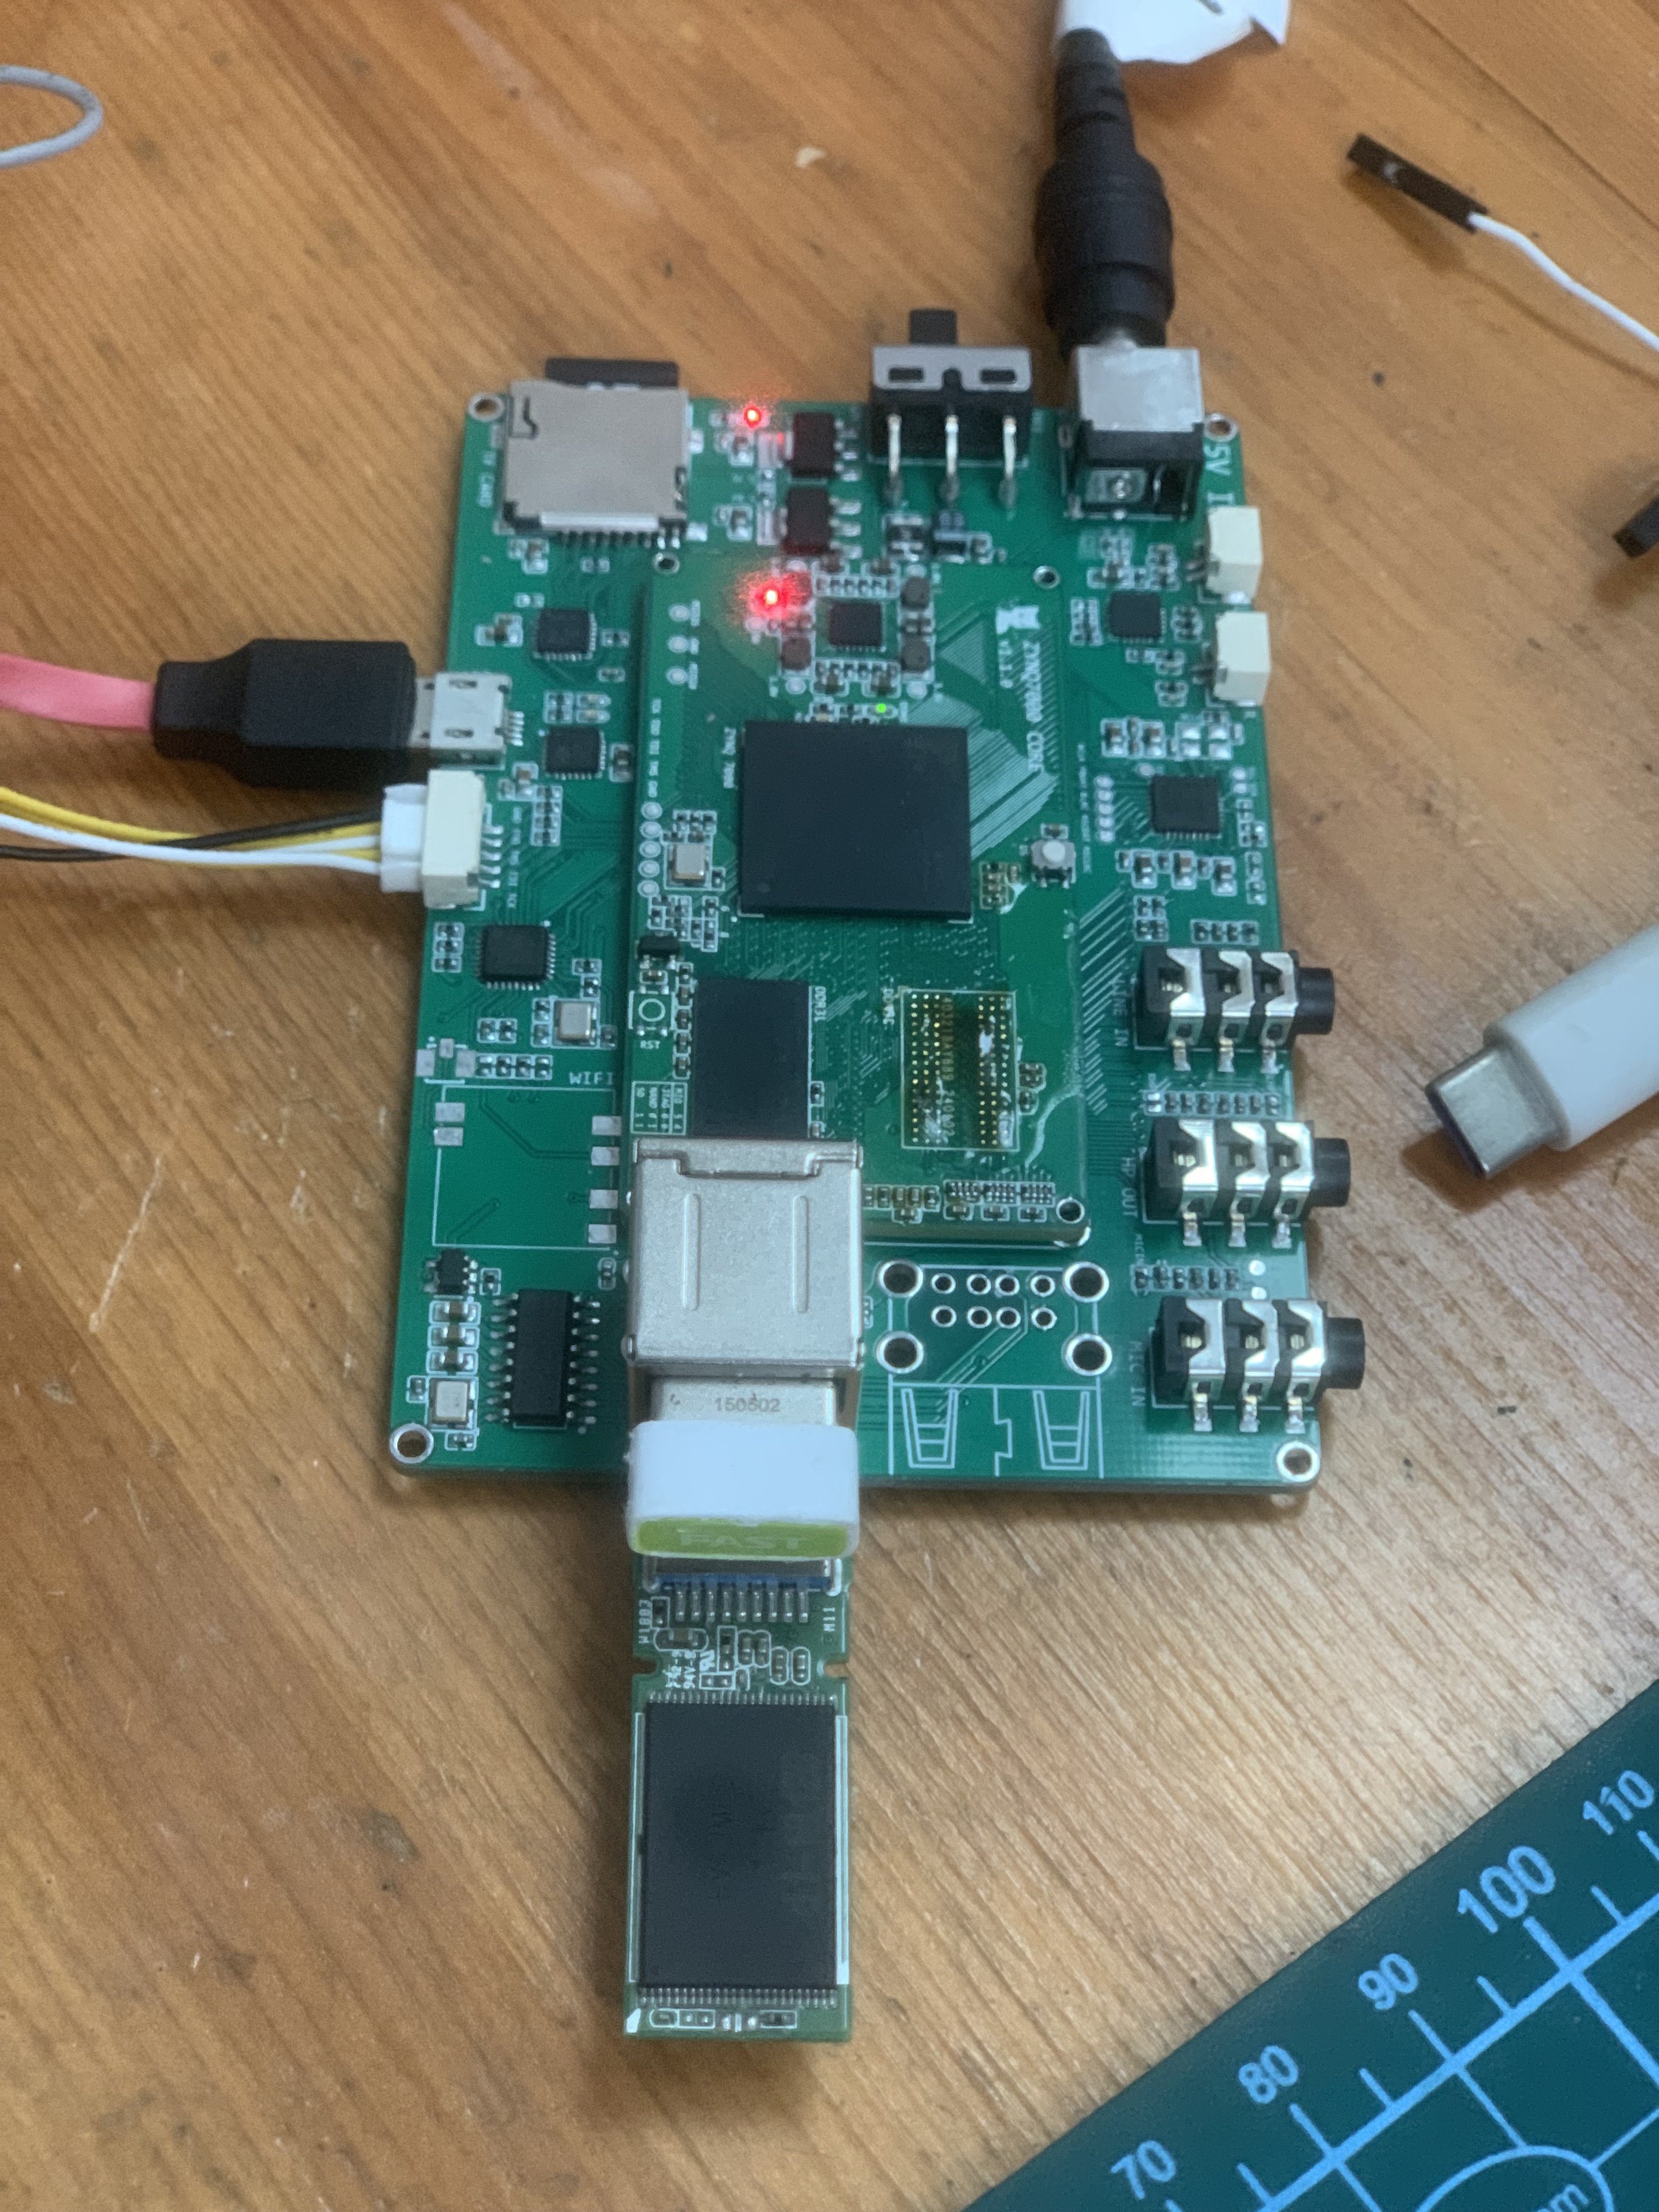
移植成功
以下是制作ubuntu20.04的rootfs的方法
Requirements
An x86_64 machine with Ubuntu or another Linux distribution installed.
debootstraptool.Internet connection.
Basic knowledge of using the terminal.
Steps to Create Ubuntu 20.04 Rootfs for ARMhf
1. Install Required Tools
First, ensure that debootstrap and qemu-user-static are installed. qemu-user-static allows you to run ARM binaries on your x86_64 machine.
sudo apt update
sudo apt install debootstrap qemu-user-static
2. Create a Directory for the Rootfs
Create a directory where the root filesystem will be built.
mkdir -p ~/ubuntu-armhf-rootfs3. Run Debootstrap
Use debootstrap to create the root filesystem. Specify the architecture (armhf), the Ubuntu release (focal), and the target directory.
sudo debootstrap --arch=armhf --foreign focal ./ubuntu-armhf-rootfs https://mirrors.bfsu.edu.cn/ubuntu-ports/4. Copy QEMU Binary
Copy the qemu-arm-static binary into the usr/bin directory of the new rootfs to enable emulation.
sudo cp /usr/bin/qemu-arm-static ./ubuntu-armhf-rootfs/usr/bin/5. Chroot into the New Rootfs
Change root into the new root filesystem to complete the second stage of debootstrap.
sudo chroot ./ubuntu-armhf-rootfs6. Complete Debootstrap Second Stage
Inside the chroot environment, run the second stage of debootstrap.
/debootstrap/debootstrap --second-stage7. Configure the Rootfs
Now configure the basic settings of your new root filesystem.
Set the hostname:
echo "ubuntu-armhf" > /etc/hostnameSet up the hosts file:
cat <<EOL > /etc/hosts
127.0.0.1   localhost
127.0.1.1   ubuntu-armhf
EOL
Create fstab:
cat <<EOL > /etc/fstab
proc            /proc           proc    defaults        0       0
sysfs           /sys            sysfs   defaults        0       0
devpts          /dev/pts        devpts  gid=5,mode=620  0       0
tmpfs           /run            tmpfs   defaults        0       0
tmpfs           /run/lock       tmpfs   nodev,nosuid,noexec 0   0
EOL
Set up networking:
cat <<EOL > /etc/network/interfaces
auto lo
iface lo inet loopback

auto eth0
iface eth0 inet dhcp
EOL
Set the root password:
passwdCreate a user:
adduser ubuntu
usermod -aG sudo ubuntu
Install essential packages:
apt update
apt install sudo nano ssh
8. Exit the Chroot
Exit the chroot environment.
exit9. Clean Up
Remove the qemu-arm-static binary from the rootfs.
sudo rm ./ubuntu-armhf-rootfs/usr/bin/qemu-arm-static10. Package the Rootfs
Finally, create a tarball of the root filesystem.
sudo tar -czvf ubuntu-20.04-armhf-rootfs.tar.gz -C ./ubuntu-armhf-rootfs .在移植完后会发现会有readonly fs的问题,其实就是挂载的时候没给rw
bootargs改为
setenv bootargs console=ttyS0,115200 earlyprintk root=/dev/mmcblk0p2 rootwait rw panic=10就一切正常了
#8 Re: DIY/综合/Arduino/写字机/3D打印机/智能小车/平衡车/四轴飞行/MQTT/物联网 » 打造 HI3518 摄像头从入门到放弃最强帖 » 2023-09-09 17:19:37
#9 Re: DIY/综合/Arduino/写字机/3D打印机/智能小车/平衡车/四轴飞行/MQTT/物联网 » 打造 HI3518 摄像头从入门到放弃最强帖 » 2023-09-09 17:18:05
页次: 1
- 首页
- » 搜索
- » joeydeng 发表的帖子
东莞哇酷科技有限公司开发